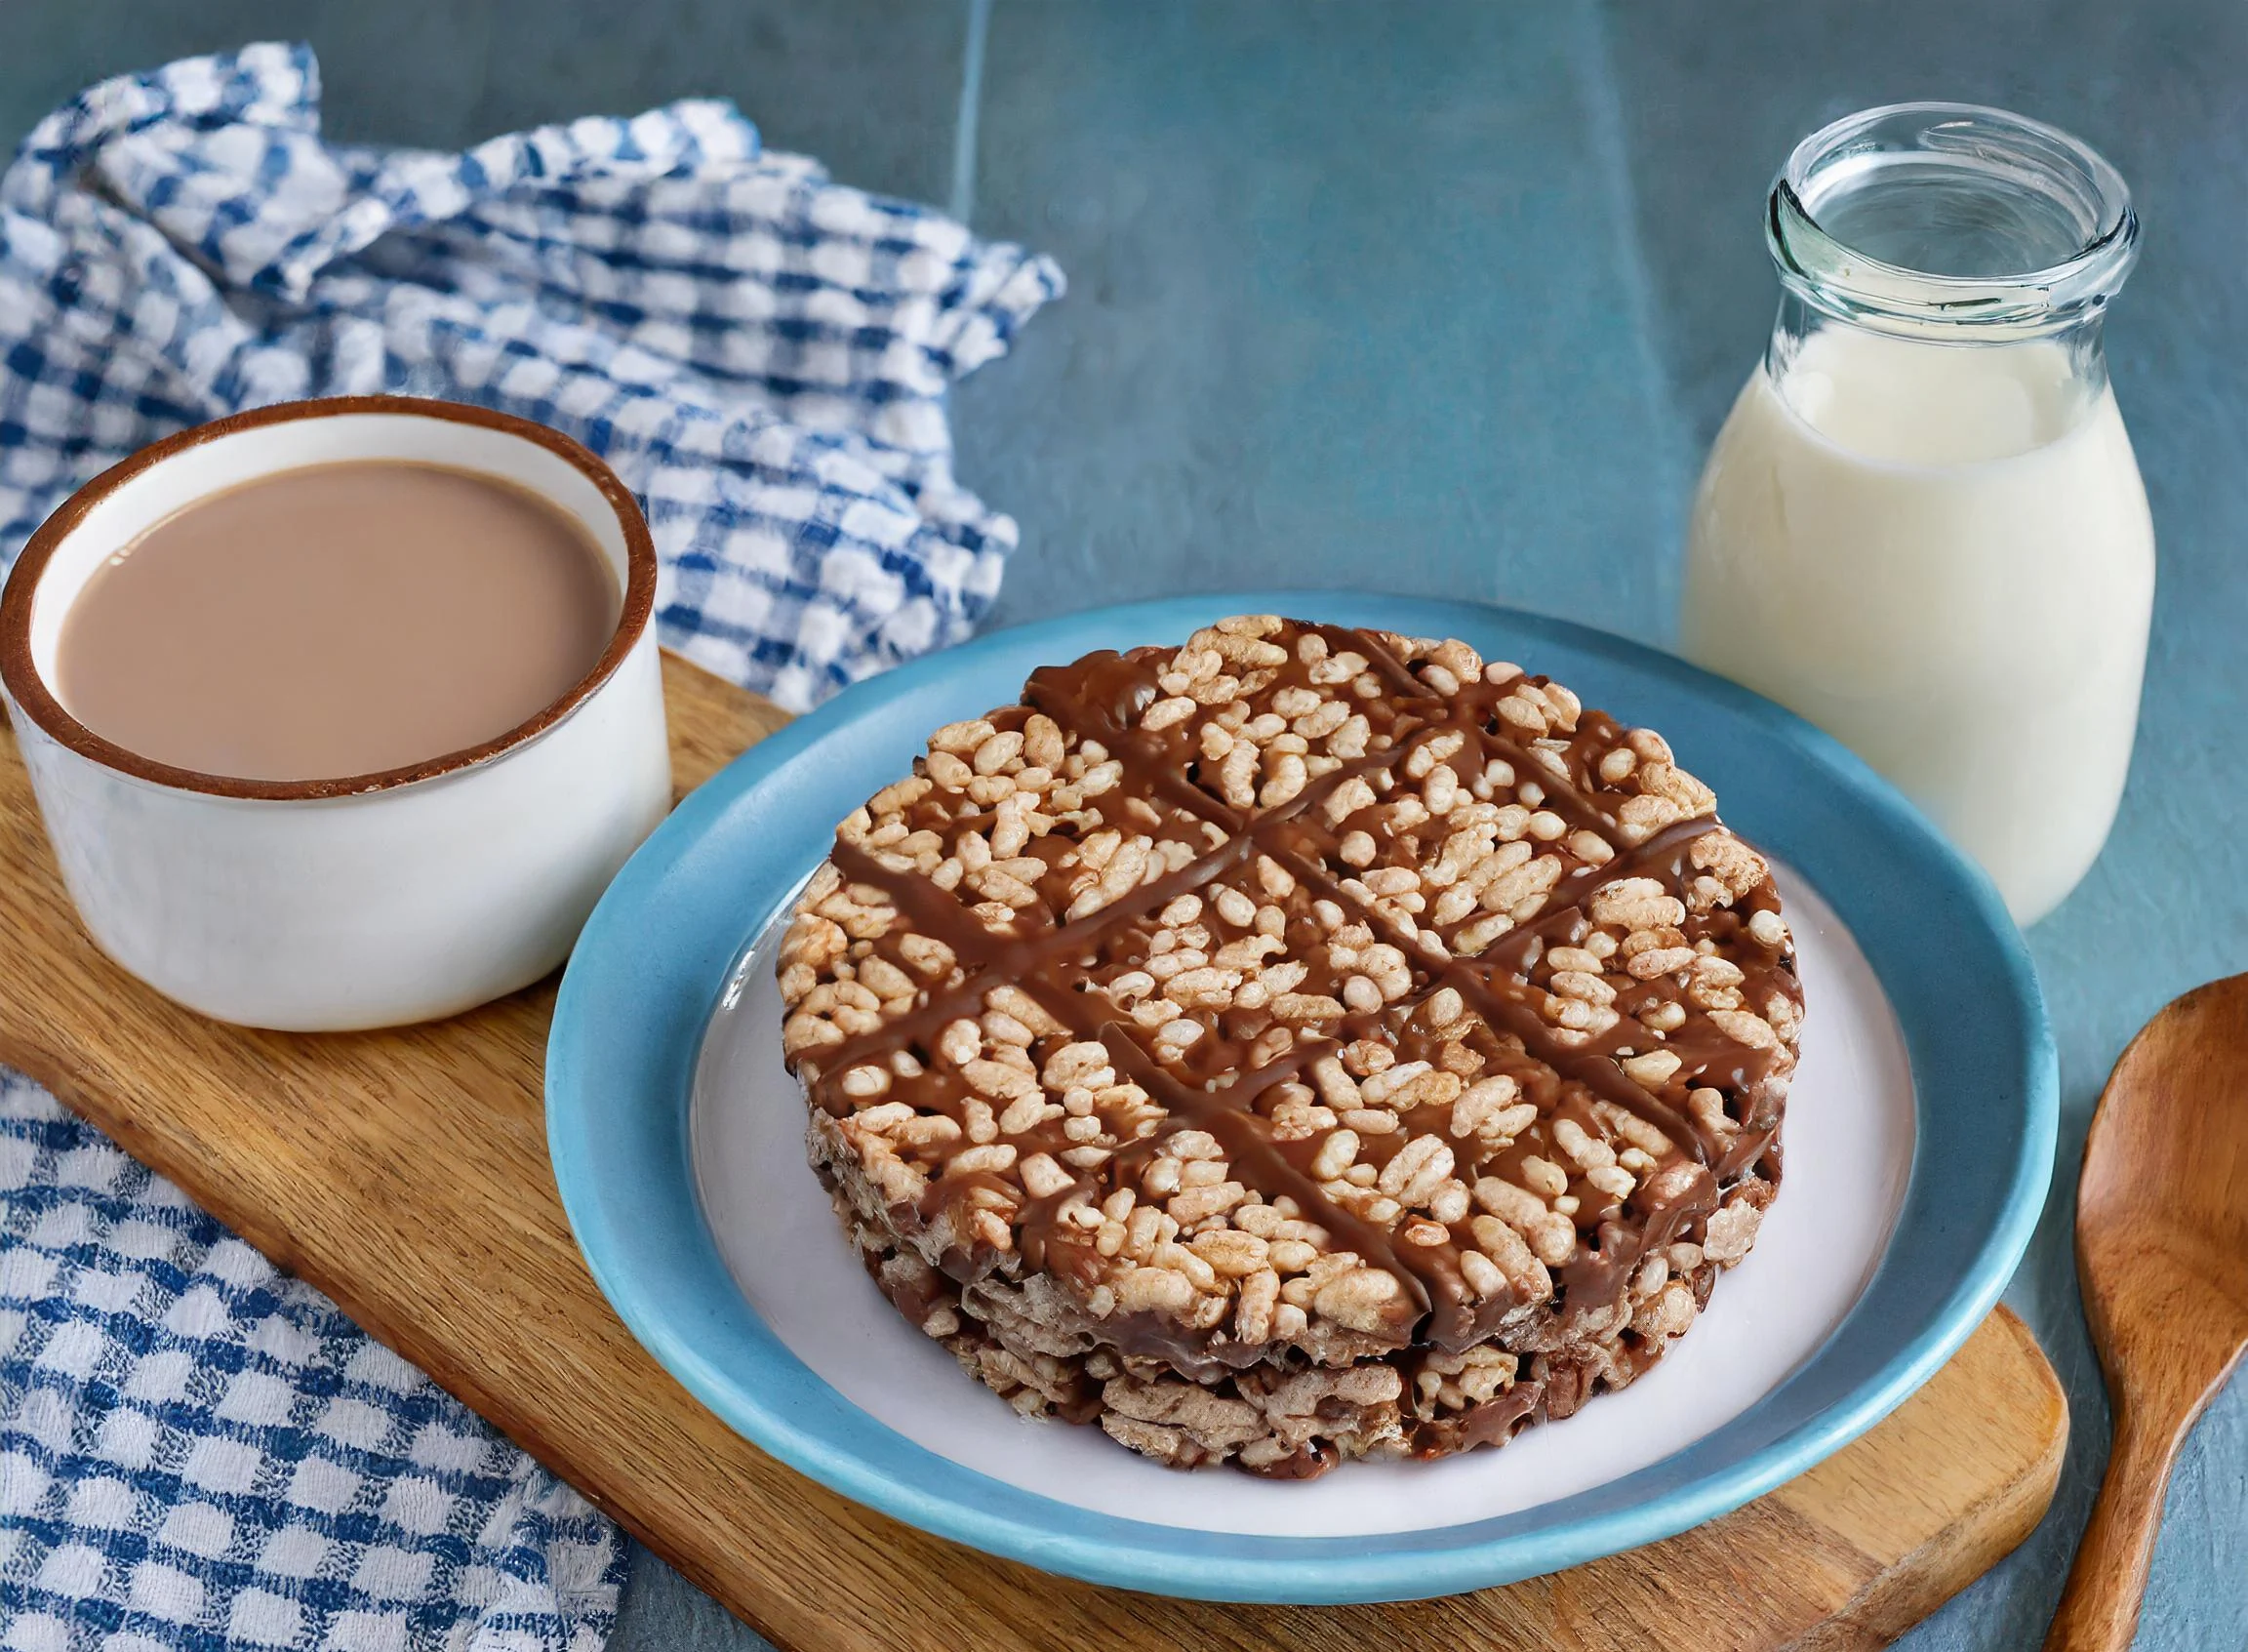
Introduction: The Perfect Treat for Every Occasion 🍫🥜
Imagine biting into a dessert that’s crunchy, chewy, chocolaty, and nutty all at once—sounds heavenly, right? Chocolate peanut butter rice krispie treats are exactly that: the perfect blend of indulgence and simplicity. Whether you need a last-minute snack for a party, a treat to satisfy your sweet tooth, or a fun recipe to make with kids, these no-bake bars check all the boxes.
This recipe is a personal favorite in my kitchen. Every time I make these, I’m reminded of childhood bake sales and movie nights with friends. What makes them even better? They’re super quick and easy, requiring just a handful of ingredients you likely already have in your pantry.
Let’s dive in and create a batch of these irresistible chocolate peanut butter rice krispie treats!
🛒 Ingredients and Tools You’ll Need
Here’s everything you’ll need to whip up these treats:
Ingredients:
| Ingredient | Amount | Tips |
|---|---|---|
| Rice Krispies cereal | 6 cups | Use your favorite crispy rice cereal brand for the best crunch. |
| Mini marshmallows | 1 package (10 oz) | Fresh marshmallows melt better; avoid stale ones! |
| Unsalted butter | 4 tbsp | Salted butter works too, but skip adding extra salt to the recipe. |
| Creamy peanut butter | 1/2 cup | Natural peanut butter works, but stir it well before use to blend the oils. |
| Semi-sweet chocolate chips | 1 cup | Swap with dark or milk chocolate chips for a sweeter or richer flavor. |
| Vanilla extract (optional) | 1 tsp | Adds a warm, rich flavor to the marshmallow mixture. |
Tools:
- Large mixing bowl
- Non-stick saucepan
- Rubber spatula or wooden spoon
- 9×13-inch baking dish
- Parchment paper or non-stick spray
👩🍳 Step-by-Step Guide: How to Make Chocolate Peanut Butter Rice Krispie Treats
Step 1: Prepare Your Workspace
Line your 9×13-inch baking dish with parchment paper or spray it generously with non-stick spray. This will make removing the treats a breeze.
Step 2: Melt the Marshmallow Mixture
- In a large non-stick saucepan, melt the butter over low heat.
- Add the mini marshmallows and stir continuously until they’re fully melted and smooth.
- Mix in the peanut butter and vanilla extract (if using). Stir until everything is well combined.
Pro Tip: Keep the heat low to avoid burning the marshmallow mixture. Patience pays off!
Step 3: Combine with Rice Krispies
- Remove the saucepan from heat and immediately pour the melted mixture over the Rice Krispies in your large mixing bowl.
- Gently fold the mixture using a rubber spatula until all the cereal is evenly coated.
Step 4: Press into the Pan
- Transfer the mixture into the prepared baking dish.
- Using a spatula (or your hands lightly greased with butter), press the mixture evenly into the pan.
Tip: Don’t press too hard; you want the treats to stay light and chewy!
Step 5: Add the Chocolate Topping 🍫
- Melt the chocolate chips in a microwave-safe bowl in 30-second intervals, stirring between each interval until smooth.
- Pour the melted chocolate over the pressed Rice Krispies and spread it evenly.
Step 6: Let Them Set
Allow the treats to cool at room temperature for about 1 hour or place them in the refrigerator for 20–30 minutes to set the chocolate faster.
Step 7: Slice and Enjoy!
Once the chocolate has hardened, lift the treats out of the pan using the parchment paper and slice them into bars.
🌟 Tips & Variations: Customize Your Treats
Add a Twist
- Extra Crunch: Sprinkle chopped nuts, crushed pretzels, or toffee bits over the melted chocolate.
- Holiday Flair: Add festive sprinkles to match the season or event.
- Salted Caramel: Drizzle caramel sauce over the chocolate layer and sprinkle with sea salt.
Make Them Healthier
- Substitute almond butter or sunflower seed butter for peanut butter.
- Use dark chocolate chips for a lower-sugar option.
- Swap regular Rice Krispies for a brown rice version.
Here are two external links that provide useful insights and recipes for making chocolate peanut butter Rice Krispie treats:
- Back to My Southern Roots offers a step-by-step guide and tips for perfecting this delicious treat, including ideas for toppings like white chocolate chips and sea salt. You can find their recipe here【13】.
- Bake It With Love explains techniques to achieve a perfect balance of textures and flavors while sharing tips on storage and customization for these treats. Check out their guide here【15】.
These resources can inspire variations or enhance your own recipe!
🎉 Conclusion: Your Turn to Try!
There you have it—a quick and simple recipe for chocolate peanut butter rice krispie treats that’s sure to impress. These bars are a delightful combination of flavors and textures, perfect for sharing (or keeping all to yourself!).
So, what are you waiting for? Grab your ingredients and give this recipe a try. I’d love to hear how it turned out for you—leave a comment below and share your experience or any creative variations you came up with!
Happy snacking! 😊

