
Introduction
Smiley fries are a fun and crispy potato snack that brings joy to both kids and adults. These iconic smiley face fries are not just visually appealing but also incredibly delicious, with a crispy exterior and a soft, fluffy interior. Originally popularized by frozen food brands, smiley fries have become a favorite in many households and restaurants.
While they are readily available in grocery stores, homemade smiley fries are even better! Making them from scratch allows you to control the ingredients, flavors, and cooking methods to achieve the perfect texture and taste. Plus, they’re a great way to engage kids in the kitchen, making cooking a fun and interactive experience.
In this blog post, you’ll learn how to make crispy smiley fries at home using simple ingredients like potatoes, cornstarch, and seasonings. We’ll also explore different cooking methods, including:
- Deep frying – for the ultimate crispy texture.
- Baking – a healthier option with less oil.
- Air frying – the perfect balance of crispiness and convenience.
Additionally, we’ll share the best dips for fries, fun serving ideas, and expert tips to make your homemade smiley fries extra crispy and flavorful. Whether you’re preparing them as a kid-friendly snack, party appetizer, or side dish, this guide will help you master the art of making and serving smiley fries like a pro! 😊🍟
What Are Smiley Fries?:
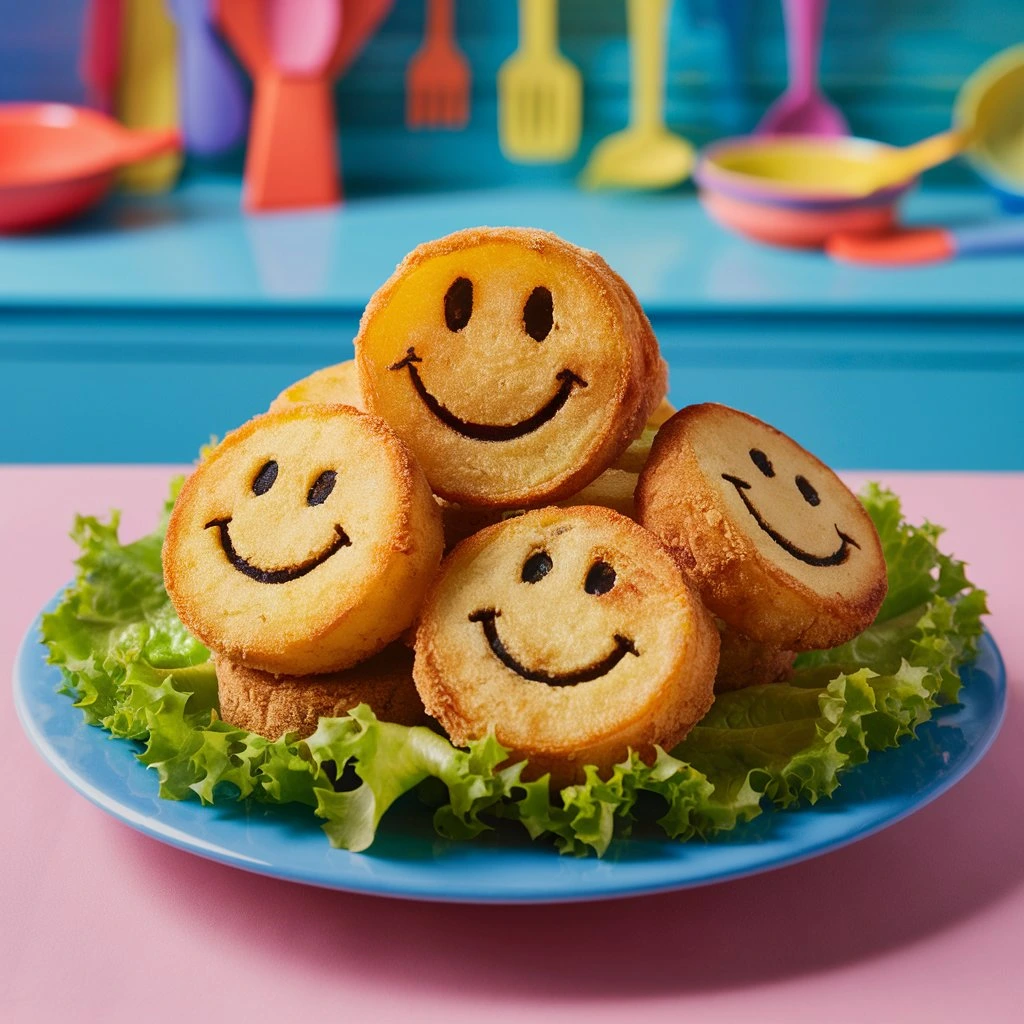
Smiley fries are a fun and delicious potato snack shaped like a smiling face. They are known for their crispy golden exterior and soft, fluffy interior, making them a favorite among kids and adults alike. These fries are a playful twist on traditional potato fries, adding a touch of joy to any meal with their happy expressions.
The Origin and Popularity of Smiley Fries
Smiley fries became widely popular in the 1990s and early 2000s, thanks to frozen food brands that introduced them as a kid-friendly snack option. The combination of a crunchy outer layer and creamy mashed potato inside quickly made them a household favorite. They are often found in the frozen aisles of grocery stores, served in fast-food chains, and included in kids’ meals at restaurants.
Today, smiley fries have grown beyond just a kids’ snack—many adults enjoy them as a nostalgic treat. Social media trends and creative food plating ideas have also contributed to their resurgence in popularity, making them a fun addition to parties, lunchboxes, and even gourmet-style meals.
Why Smiley Fries Are a Great Fun Potato Snack
Smiley fries stand out from regular fries due to their unique design and texture:
- Fun and engaging for kids – The smiley face makes eating more enjoyable, encouraging picky eaters to try them.
- Crispy on the outside, soft on the inside – A perfect contrast in texture that makes them irresistible.
- Customizable flavors – They can be seasoned with different spices, herbs, and even cheese for a creative twist.
- Easy to cook – They can be deep-fried, baked, or air-fried for a quick and delicious snack.
Store-Bought vs. Homemade Smiley Fries – Which Is Better?
While store-bought frozen smiley fries are convenient, making them at home allows for more control over ingredients, flavors, and health benefits. Here’s a quick comparison:
| Feature | Store-Bought Smiley Fries | Homemade Smiley Fries |
|---|---|---|
| Ingredients | Preservatives, added flavors | Fresh, natural ingredients |
| Crispiness | May be less crispy after cooking | Can be made extra crispy |
| Health Factor | Higher in sodium and oils | Healthier with fresh ingredients |
| Customization | Limited flavors | Can add cheese, spices, herbs |
| Cooking Time | Ready in minutes | Requires preparation but worth it |
Making homemade smiley fries is not only healthier and tastier, but it also allows for creative variations, such as cheesy smiley fries, spicy versions, or gluten-free options. In the next section, we’ll go over the essential ingredients you need to make these fries from scratch! 🍟😊
Ingredients You’ll Need for Homemade Smiley Fries:
Making homemade smiley fries is easy and requires just a few simple ingredients. Unlike store-bought versions, which may contain preservatives and artificial flavors, homemade smiley fries allow you to use fresh, natural ingredients for a tastier and healthier snack.

1. Potatoes – The Star Ingredient 🥔
Potatoes are the base of smiley fries, and choosing the right type is essential for achieving the perfect texture. Here are some of the best potatoes for this recipe:
- Russet Potatoes – High in starch, these potatoes make smiley fries light, fluffy, and crispy.
- Yukon Gold Potatoes – Slightly waxy with a creamy texture, they give the fries a rich, buttery flavor.
- Red Potatoes – Less starchy but still a great option for a firmer texture.
💡 Tip: For the best results, boil the potatoes until soft but not overly mushy. This makes it easier to shape the smiley faces while keeping the fries crispy.
2. Cornstarch – The Secret to Crispiness
Cornstarch is essential for making the exterior crispy. It helps absorb excess moisture, preventing the fries from becoming soggy. If you don’t have cornstarch, you can substitute it with:
- Potato starch – Another great option for crispiness.
- All-purpose flour – Works in a pinch, though it won’t be as crispy.
3. Oil – For Frying or Baking 🛢️
The choice of oil can impact the texture and flavor of your smiley fries:
- Vegetable Oil – A neutral oil perfect for deep-frying.
- Canola Oil – A heart-healthier option with a light taste.
- Olive Oil – Ideal for baking or air frying, adding a mild flavor.
💡 Tip: If deep-frying, use an oil with a high smoke point (vegetable or canola oil) to avoid burning.
4. Seasonings – Simple Yet Flavorful
Basic seasonings enhance the natural potato flavor while allowing for customization:
- Salt & Pepper – The foundation of flavor.
- Garlic Powder & Onion Powder – Adds depth and a savory taste.
- Paprika or Chili Powder – For a slightly spicy kick.
- Cheese Powder or Parmesan – To make cheesy smiley fries.
💡 Tip: For extra flavor, season the potato mixture before shaping and also sprinkle some seasoning after frying.
5. Optional Ingredients for Variations
- Cheese – Add shredded cheese to the dough for a melty, cheesy version.
- Breadcrumbs – Helps create an even crispier coating.
- Egg Yolk – Adds richness and helps bind the mixture together.
Now that we have all the ingredients ready, let’s move on to the step-by-step guide to making perfect smiley fries at home! 🍟😊
Step-By-Step Guide to Making Smiley Fries at Home:
Now that we have all the ingredients ready, let’s go through the step-by-step process of making perfect homemade smiley fries. Whether you want to deep-fry, bake, or air-fry, these steps will ensure crispy, golden fries with a soft, fluffy inside.
Step 1: Prepare the Potatoes
- Peel and chop the potatoes – Remove the skin and cut the potatoes into chunks for even cooking.
- Boil until soft – Place them in a pot of water and boil for about 10–12 minutes, or until fork-tender. Avoid overcooking, as mushy potatoes will make shaping difficult.
- Drain and mash – Once boiled, drain the water and mash the potatoes using a fork or potato masher until smooth.
- Cool slightly – Let the mashed potatoes sit for a few minutes to prevent the dough from becoming too sticky.
💡 Pro Tip: For an extra-smooth texture, use a potato ricer instead of a masher.
Step 2: Make the Dough & Shape the Smiley Faces
- Mix ingredients – In a mixing bowl, combine the mashed potatoes with:
- Cornstarch (or flour) for crispiness
- Salt, pepper, and seasonings for flavor
- Cheese (optional) for extra richness
- Knead into a dough – Mix everything until it forms a soft, non-sticky dough. If it’s too sticky, add a little more cornstarch.
- Roll out the dough – Place the dough on a lightly floured surface and roll it out to about ¼-inch thickness.
- Cut out circles – Use a small round cutter (a cookie cutter or the rim of a glass) to make the base for each smiley fry.
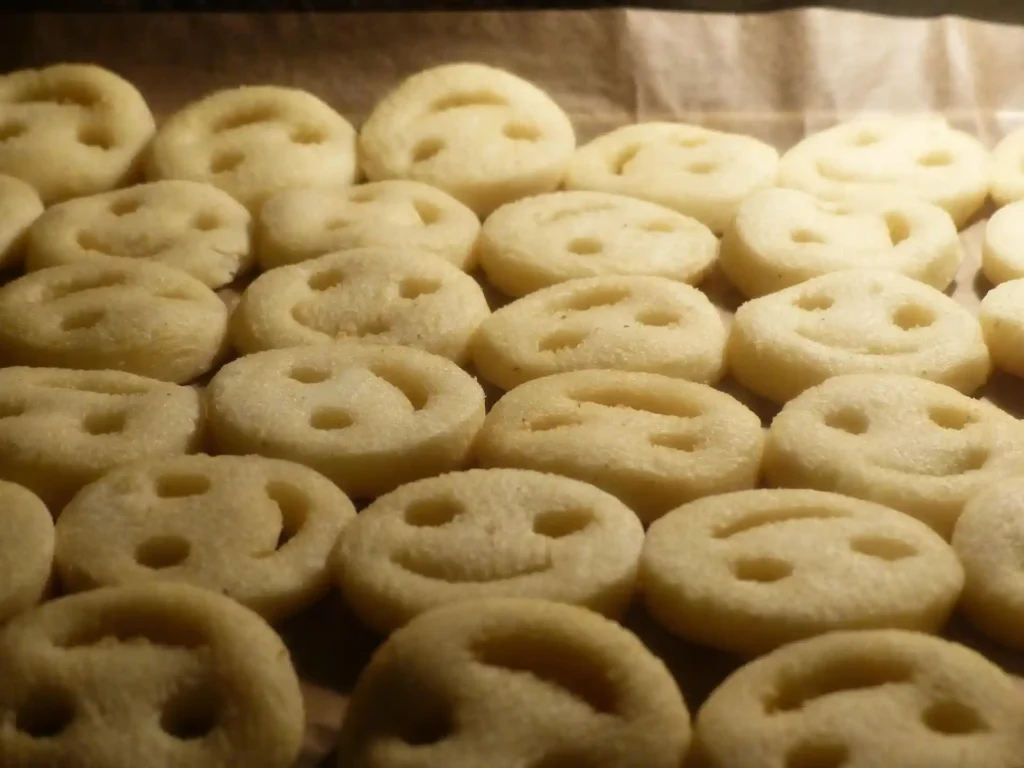
- Make the smiley faces – Use a straw or chopstick to poke two eyes into each circle, then use a spoon or knife to create a curved smile at the bottom.
💡 Pro Tip: Chill the shaped fries in the fridge for 15–20 minutes before cooking to help them hold their shape.
Step 3: Cooking Methods – Deep Frying, Baking, or Air Frying
1. Deep-Frying (For the Crispiest Texture)
- Heat vegetable or canola oil in a deep pan to 350°F (175°C).
- Carefully add the smiley fries in batches, ensuring they don’t overcrowd the pan.
- Fry for about 2–3 minutes per side or until golden brown and crispy.
- Remove and place on a paper towel-lined plate to drain excess oil.
💡 Pro Tip: Maintain the oil temperature for even crispiness—if it’s too hot, they’ll burn; too cool, and they’ll absorb too much oil.
2. Baking (A Healthier Alternative)
- Preheat your oven to 400°F (200°C).
- Place the smiley fries on a lined baking sheet and brush them lightly with oil.
- Bake for 15–18 minutes, flipping halfway through, until golden and crispy.
💡 Pro Tip: For extra crispiness, broil them for the last 2–3 minutes.
3. Air Frying (The Perfect Balance of Crispy & Healthy)
- Preheat the air fryer to 375°F (190°C).
- Arrange the smiley fries in a single layer in the air fryer basket.
- Lightly spray with oil for extra crispiness.
- Cook for 10–12 minutes, shaking the basket halfway through.
💡 Pro Tip: Avoid overcrowding the air fryer basket so the fries cook evenly.
Step 4: Serving and Storing Tips
How to Serve Smiley Fries Like a Pro
- Classic Style – Serve with ketchup, ranch dressing, or cheese sauce.
- Loaded Smiley Fries – Top with melted cheese, sour cream, and crispy bacon bits.
- Spicy Kick – Sprinkle with paprika or chili powder for extra heat.
How to Store Leftovers
- Refrigeration: Store cooked smiley fries in an airtight container in the fridge for 2–3 days.
- Freezing: Freeze uncooked smiley fries on a tray before transferring them to a freezer bag (lasts up to 2 months).
- Reheating: Reheat in an air fryer (5 minutes at 375°F) or oven (8 minutes at 400°F) for best results.
Final Thoughts
Now that you’ve mastered making homemade smiley fries, it’s time to get creative with flavors, seasonings, and serving ideas! Whether deep-fried, baked, or air-fried, these crispy, golden, smiley-faced treats are guaranteed to be a hit.
Best Ways to Serve Smiley Fries Like a Pro:
Smiley fries are more than just a fun, crispy snack—they can be served in creative and delicious ways to elevate your meal! Whether you’re making them for kids, serving them at a party, or enjoying them as a comfort food treat, here are some of the best ways to serve smiley fries like a pro.
1. Classic Dipping Sauces for Smiley Fries 🥫
Dipping sauces can take your smiley fries to the next level. Here are some perfect pairings:
- Ketchup – A classic choice that enhances the crispy, salty taste of smiley fries.
- Ranch Dressing – Creamy and tangy, it balances the fries’ crispiness.
- Cheese Sauce – Melted cheddar or nacho cheese makes them extra indulgent.
- Honey Mustard – A sweet and tangy option for a unique flavor twist.
- BBQ Sauce – Smoky and slightly sweet, perfect for dipping.
- Garlic Aioli – A garlicky, creamy dip that adds gourmet flavor.
💡 Pro Tip: Serve multiple dips in small bowls to create a dipping station, especially for parties or gatherings.
2. Loaded Smiley Fries – The Ultimate Comfort Food 🧀🥓
Turn smiley fries into a loaded snack with toppings that add flavor and texture. Here are some delicious ideas:
Cheesy Smiley Fries
🧀 Toppings: Melted cheddar cheese, mozzarella, or parmesan
🔥 Extras: Sprinkle with chili flakes or smoked paprika for a kick
Mexican-Style Smiley Fries
🌮 Toppings: Melted queso, salsa, and guacamole
🌽 Extras: Add black beans or jalapeños for extra spice
💡 Pro Tip: Serve loaded smiley fries immediately after assembling to keep them crispy.
3. Fun and Creative Smiley Fries Plating Ideas 🍽️
Want to make your smiley fries look as good as they taste? Try these presentation ideas:
- Smiley Fries Sliders – Use smiley fries as mini buns and sandwich them with a small patty, cheese, and lettuce.
- Smiley Fries Pizza – Arrange smiley fries on a plate, top with marinara sauce and melted mozzarella.
- Emoji-Themed Plate – Serve smiley fries with different dips arranged in smiley or winking face patterns.
- Kid-Friendly Bento Box – Pair smiley fries with fruit slices, cheese cubes, and chicken nuggets for a fun lunchbox meal.
💡 Pro Tip: Use colorful plates and creative plating to make the meal visually appealing, especially for kids.
4. Smiley Fries as a Side Dish 🍔
Smiley fries are great on their own but also make a fantastic side dish for various meals. Here are some pairing ideas:
- With Burgers: Serve alongside a classic cheeseburger or a veggie burger.
- With Chicken Tenders: A crispy, kid-approved combo.
- With Grilled Cheese: The perfect comfort food pairing.
- With Hot Dogs or Corn Dogs: A fun and nostalgic meal idea.
- With Eggs & Bacon: Make smiley friés a breakfast side dish!
💡 Pro Tip: Sprinkle some seasoned salt or garlic butter on smiley friés to enhance their flavor when serving as a side.
5. Smiley Fries for Parties and Gatherings 🎉
Hosting a party? Smiley fries can be a hit at any event with these ideas:
- Snack Platter: Serve smiley friés with an assortment of appetizers like onion rings, mozzarella sticks, and wings.
- DIY Topping Bar: Let guests customize their fries with a variety of toppings and dips.
- Themed Party Food: Serve smiley friés as part of a fun emoji-themed party for kids or a nostalgic throwback event.
💡 Pro Tip: Keep fries warm in the oven at 200°F (93°C) if serving at a party to maintain their crispiness.
Final Thoughts
Whether you serve them as a classic snack, a loaded indulgence, or a creative party food, smiley friés bring joy to any meal. With the right dipping sauces, toppings, and plating ideas, you can easily serve them like a pro and impress your family and guests.
Final Tips and Variations:
Now that you know how to make and serve smiley friés like a pro, here are some final tips to ensure your fries turn out perfectly every time, along with some fun variations to customize them to your liking!
1. Expert Tips for the Best Smiley Fries 🔥
To achieve crispy, golden, and perfectly shaped smiley friés, keep these tips in mind:
Use Starchy Potatoes
- Best choice: Russet or Yukon Gold potatoes provide the right balance of fluffiness and crispiness.
- Why? Starchy potatoes help the fries hold their shape and achieve a crispy texture when fried or baked.
Chill the Dough Before Frying
- After cutting out the smiley faces, refrigerate for 15–20 minutes before frying or baking.
- Why? This helps the fries maintain their shape and prevents them from falling apart.
Don’t Overcrowd the Pan or Air Fryer
- Cook smiley friés in small batches to ensure even cooking.
- Why? Overcrowding lowers the oil temperature and can result in soggy fries instead of crispy ones.
Adjust Seasoning to Taste
- Add a pinch of garlic powder, onion powder, paprika, or cayenne to the dough for extra flavor.
- For a cheesy twist, mix in parmesan or cheddar cheese into the dough.
💡 Pro Tip: If you’re air-frying or baking, lightly spray the fries with cooking oil before cooking to enhance crispiness.
2. Fun Variations of Smiley Fries 🎭
Want to switch things up? Try these creative variations to make your smiley friés unique:
🧀 Cheesy Smiley Fries
- Add shredded cheddar or parmesan cheese to the dough for a rich, cheesy taste.
- Pro Tip: Sprinkle extra parmesan over the fries right after frying for added flavor.
🌿 Herb-Infused Smiley Fries
- Mix fresh or dried herbs like rosemary, thyme, or parsley into the potato dough.
- Perfect for a gourmet-style twist on traditional smiley friés.
🔥 Spicy Smiley Fries
- Add chili powder, smoked paprika, or cayenne pepper for a spicy kick.
- Serve with spicy mayo or sriracha ketchup for an extra heat boost.
🧄 Garlic Butter Smiley Friés
- After cooking, toss the smiley friés in melted garlic butter and top with fresh parsley.
- Best served as a side dish with steak, chicken, or grilled vegetables.
3. Healthier Alternatives to Traditional Smiley Friés 🥦
If you’re looking for healthier options, try these alternatives:
🥔 Baked or Air-Fried Smiley Friés
- Instead of deep-frying, bake at 400°F (200°C) for 15–18 minutes or air-fry at 375°F (190°C) for 10–12 minutes.
- Pro Tip: Brush or spray the fries with olive oil before baking for better crispiness.
🥕 Veggie-Based Smiley Friés
- Substitute part of the potatoes with sweet potatoes, carrots, or cauliflower for added nutrition.
- Keeps the same crispy texture but with a boost of vitamins and fiber.
🌱 Vegan & Gluten-Free Smiley Friés
- Use gluten-free flour or cornstarch instead of regular flour.
- Replace cheese with nutritional yeast for a cheesy flavor without dairy.
💡 Pro Tip: These healthy variations are perfect for kids, meal prep, or guilt-free snacking.
Final Thoughts 🎉
Smiley friés are a fun, delicious, and versatile treat that can be customized in endless ways! Whether you’re looking for crispy, cheesy, spicy, or healthier versions, there’s a perfect variation for everyone. With the right ingredients, techniques, and creativity, you can easily make restaurant-quality smiley friés at home.
Conclusion:
Smiley friés are more than just a crispy, golden snack—they’re a fun, nostalgic, and versatile treat that brings joy to every meal. Whether you’re making them from scratch or using store-bought options, there are countless ways to customize, serve, and enjoy them. From dipping them in classic sauces to creating gourmet loaded smiley friés, the possibilities are endless.
Why Smiley Fries Are a Must-Try
- Easy to make at home with simple ingredients.
- Loved by kids and adults alike for their playful appearance and crispy texture.
- Can be served in multiple ways, from party platters to creative side dishes.
- Endlessly customizable with flavors, toppings, and dips to suit your taste.
If you’re looking for a snack that brings fun to the table while being incredibly delicious, smiley friés are the perfect choice. Whether baked, fried, or air-fried, they’re a guaranteed crowd-pleaser for any occasion.
What’s Next?
Now that you’ve mastered smiley friés, why not experiment with new flavors and presentations? Try different spice blends, make a healthier version with sweet potatoes, or even create a fun emoji-inspired platter!
💡 Have you tried making homemade smiley fries? Let us know in the comments how you like to serve them! 😊
FAQs About Smiley Fries:
Here are answers to some common questions about smiley friés, covering everything from storage to cooking methods.
1. Can I Make Smiley Fries Without a Cookie Cutter?
✅ Yes! If you don’t have a round cutter, you can:
- Use the rim of a small glass or bottle cap to shape the fries.
- Cut out circles freehand with a sharp knife.
- Use a large piping tip or straw to make the eyes and a spoon for the mouth.
💡 Pro Tip: Press lightly when making the face to ensure the design holds its shape during cooking.
2. Can I Freeze Homemade Smiley Fries?
✅ Absolutely! To freeze them for later:
- Arrange shaped, uncooked smiley friés on a baking sheet lined with parchment paper.
- Freeze for 1-2 hours until firm.
- Transfer to an airtight container or freezer bag and store for up to 3 months.
❄️ How to Cook from Frozen:
- Deep-fry: Cook straight from frozen at 350°F (175°C) for 3-4 minutes.
- Air-fry: Preheat to 375°F (190°C) and air-fry for 10-12 minutes.
- Bake: Place on a baking sheet at 400°F (200°C) for 15-18 minutes, flipping halfway.
3. Why Are My Smiley Fries Falling Apart?
If your fries crack or break while frying, it could be due to:
- ❌ Too much moisture – Make sure to drain and dry the potatoes before mashing.
- ❌ Not enough binding ingredients – Add a little more flour or cornstarch to help hold the dough together.
- ❌ Oil too hot or too cold – Keep frying oil at a steady 350°F (175°C) for best results.
💡 Pro Tip: Chilling the shaped smiley friés in the fridge for 15-20 minutes before cooking helps them hold their shape.
4. How Can I Make Smiley Fries Extra Crispy?
For ultra-crispy smiley friés, try these tricks:
- 🔥 Use starchy potatoes (like Russet) for a crispier texture.
- 🔥 Double-fry: Fry once at 325°F (160°C) for 2 minutes, then fry again at 375°F (190°C) until golden brown.
- 🔥 If baking or air-frying, lightly spray with oil before cooking to enhance crispiness.
5. Can I Make Smiley Friés Healthier?
✅ Yes! For a healthier version:
🥔 Use sweet potatoes for added vitamins and fiber.
🔥 Bake or air-fry instead of deep-frying.
🌱 Use whole wheat flour or almond flour for a better-for-you dough.
💡 Pro Tip: Even healthier versions can be crispy—just add a thin layer of oil before baking!
You can link to a page that provides additional information on smiley friés or potato-based snacks. Here’s a great external link option:
🔗 How to Make Perfect French Fries at Home – Serious Eats
This article from Serious Eats covers techniques for making crispy fries, which can be helpful for achieving the perfect texture in your homemade smiley friés.